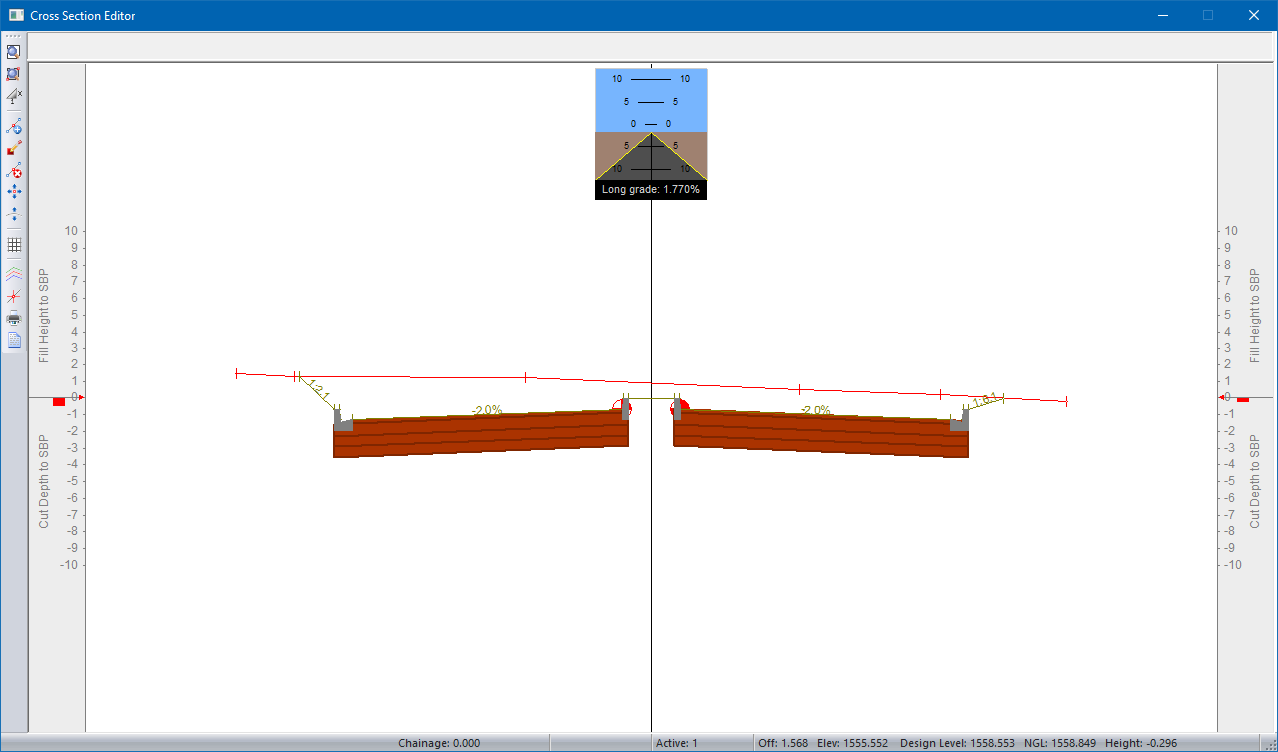

The Cross-Section Editor allows you to view and edit individual cross-sections. These changes are then saved and re-applied if the road has to be recalculated due to subsequent alignment changes. The changes will only be overridden when the designer physically runs the Apply Template function again.
The toolbar allows quick access to the following options:
|
Icon
|
Description
|
|
|
Redraw to the extents of the cross-section. |
|
|
Zoom window into the cross-section. |
|
|
Set the exaggeration factor. |
|
|
Insert a point on the active layer. |
|
|
Delete a point on the active layer. |
|
|
Edit a point on the active layer. |
|
|
Move a point on the active layer. |
|
|
Move a point up or down. |
|
|
Set the grid visibility and spacing. |
|
|
Set the visible layers, colours and other display options. |
|
|
Activate the Follow option. |
|
|
Print the cross section. |
|
|
Display the component or edge list for the cross-section. |
Use the following keys to move through the chainages in the road database:
[PgDn] to move to the next chainage 'down' the road.
[PgUp] to move to the previous chainage 'up' the road.
[G] to Goto a specified chainage that must be entered.
 Note that these keys are not case sensitive.
The following cursor control mode options are available for editing:
[L] performs a line lock. The cursor jumps to the nearest line then tracks it.
[K] performs a slope lock. A percentage slope is entered and the cursor locks to that slope. Commonly used after a Jump to Nearest.
[U] provides an absolute or relative jump. For absolute jumps, the entry enables the cursor to be positioned at a precise offset and elevation. For relative jumps, the entry enables the cursor to be positioned by a precise offset and level difference from the present position. Commonly used after a Jump to Nearest.
[J] provides a jump to nearest. The same effect as a snap.
[P] allows the measurement of the area and perimeter of a defined polygon.
[I] allows the insertion of a section point as an intersection between two indicated lines.
You can also track the current chainage on the layout by pressing [F], which toggles the Follow mode on or off.
A popup menu can be displayed by right-clicking on the Cross Section window.

The following options are available from the popup menu:
|
Option
|
Description |
|
Insert Point
|
Insert a cross-section point |
|
Edit Point
|
Edit a cross-section point |
|
Delete Point
|
Delete a cross-section point |
|
Move point
|
Move a cross-section point |
|
Layer Details
|
Display the Section Lines settings |
|
Polygon Area
|
Calculate a polygon area |
|
Goto Chainage
|
Goto a specified chainage |
|
Line intersection
|
Calculate a line intersection point |
|
Measure
|
Measure between two graphically indicated points |
|
Move To |
Use this option to move the cursor to a specified location on the cross-section. The Cursor Jump options will be displayed. |
|
Alter View Limits
|
Use this option to alter the view rectangle for the Cross-Section Editor. |
The cursor control modes work on all the currently displayed layers, although only the active layer selected under Section Lines settings may be edited.
On leaving the section by moving to another section, or quitting the routine, an option will be given to save or abandon the changes made. Saving the data results in the changes made being written to the road database while abandoning will result in any changes being ignored.
 The zoom factor of the roads window is retained while scrolling through the cross sections. However, the elevation for the zoom window is calculated using the active line.