Icon
Command
Shortcut Key
Toolbar
![]()
PLOTGENERATE
Misc
Home > Generate
Generate a plot to a new layout of the current drawing that is suitable for printing or saving.
|
Icon |
Command |
Shortcut Key |
Toolbar |
|
|
PLOTGENERATE |
|
Misc |
This function allows you to plot the current drawing to a new layout suitable for printing or saving using the Plot Setup.
Procedure
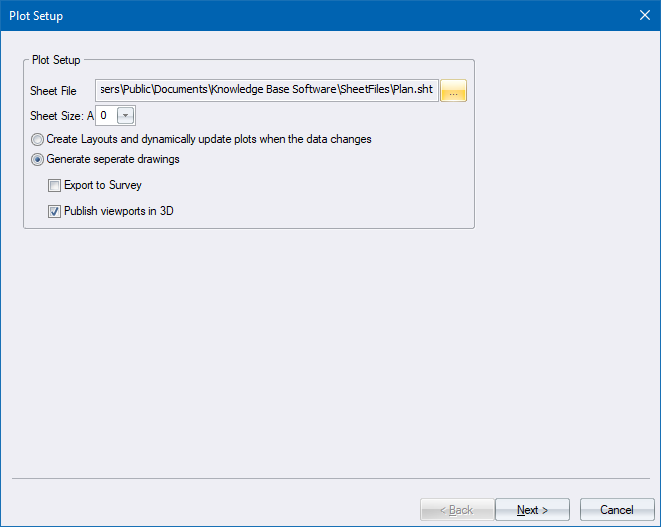
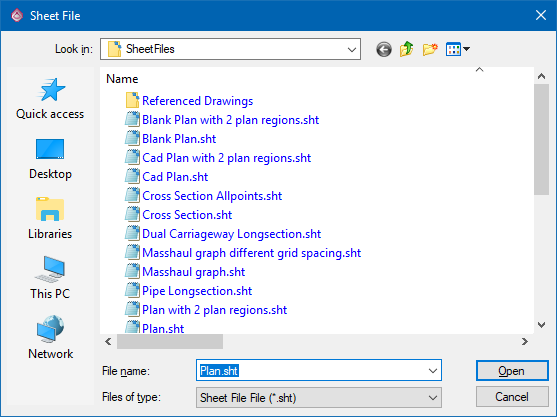
Click ... to select the sheetfile to use.
The file browser displays to allow you to select either one of the standard sheetfiles, or your own customised sheetfile.
Set the required plot setup settings and click Next to continue. The Plan Setup displays.
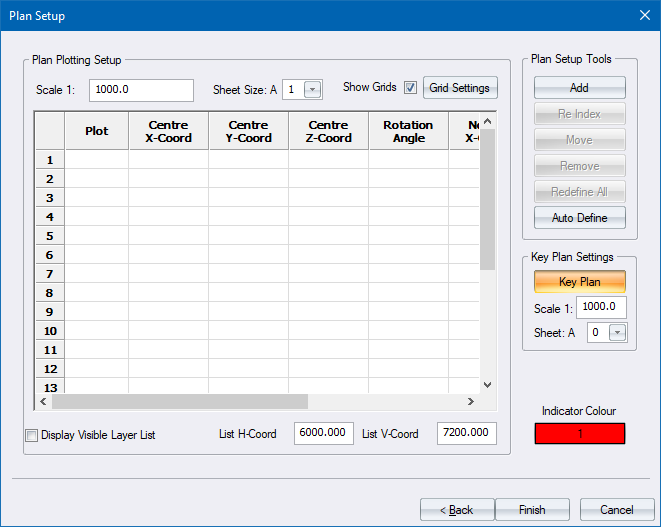
New layouts are created for the plots listed in the grid.
Click Add to graphically add new plots. The Plan Setup window temporarily closes and the drawing area displays.
You are prompted to:
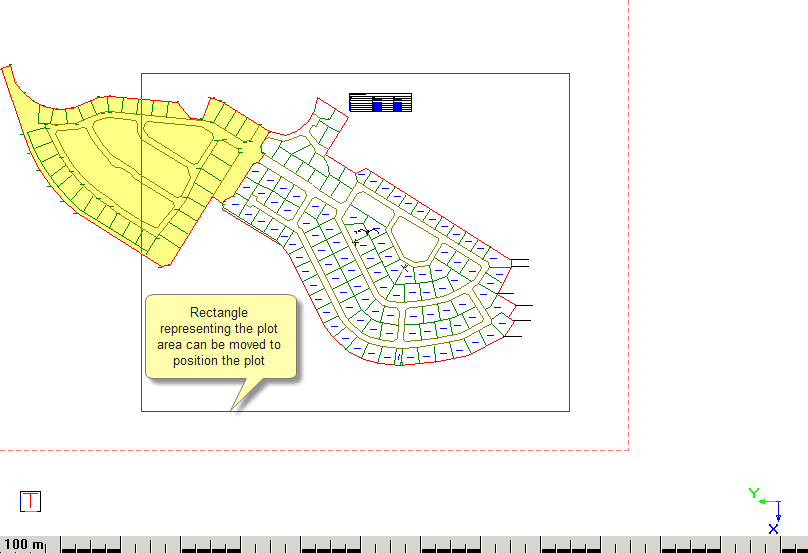
Plan Plotting: Indicate plot centre (Right-click to end)
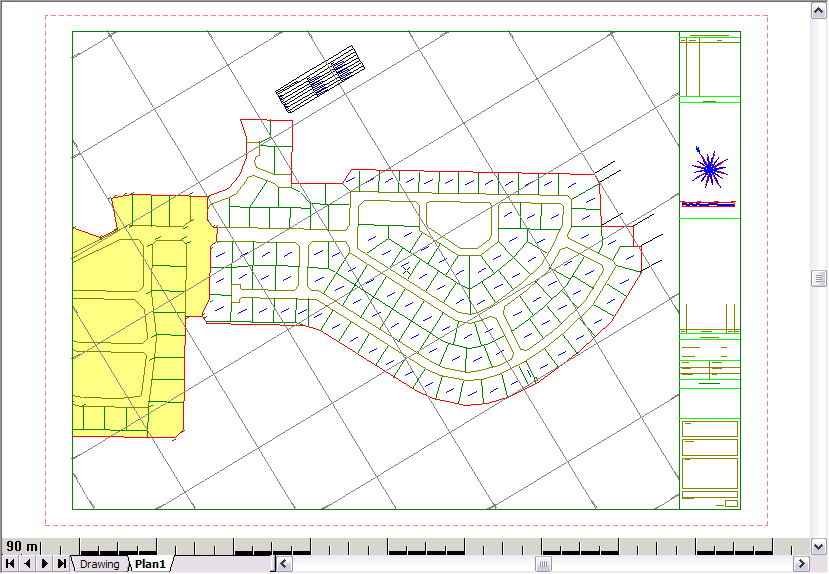
Graphically place the rectangle, which represents the selected sheet size, over the area of the drawing you want to have plotted.
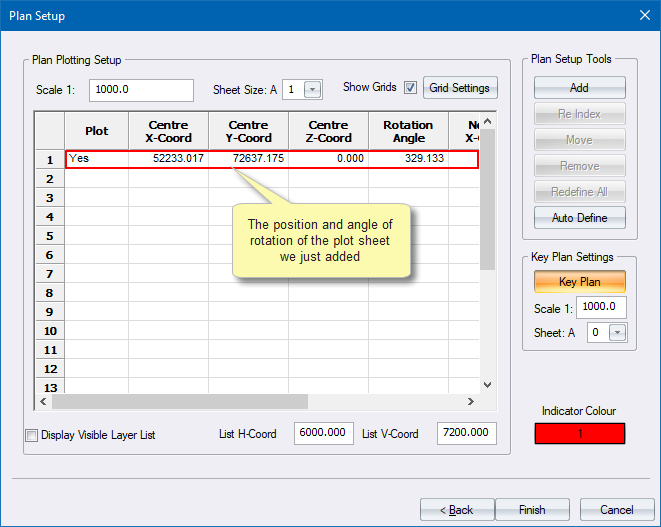
You are given an opportunity to rotate the plot graphically with the following prompt:

If you choose to rotate the plot you are prompted to:
Plan Plotting: Indicate rotation

You are prompted to indicate the centre of additional plots:
Plan Plotting: Indicate plot centre (Right-click to end)
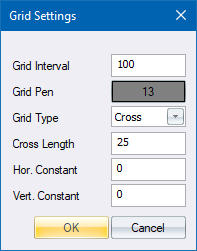
Enter the required settings for the grid and click OK to accept the changes and return to the Plan Setup.
Click Finish on the Plan Setup to create the layout(s). The plot is generated and added to the drawing as a layout. In the example below, the layout is called "Plan 1".
This option automatically defines multiple plot sheets with a defined overlap.
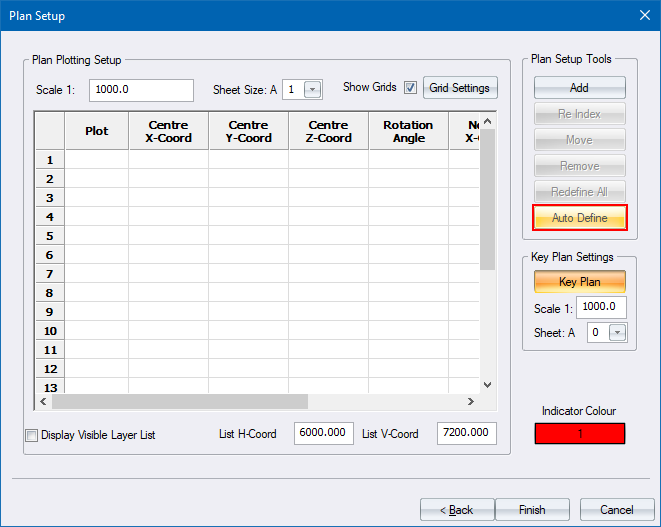
Click Auto Define.
You are prompted to specify the overlap distance between adjacent sheets:

You are prompted to define the area that the plots must enclose:
Indicate the start point of the defining rectangle
Click the top left of the area you want to include in the plots.
You are prompted to:
Indicate the end point of the defining rectangle
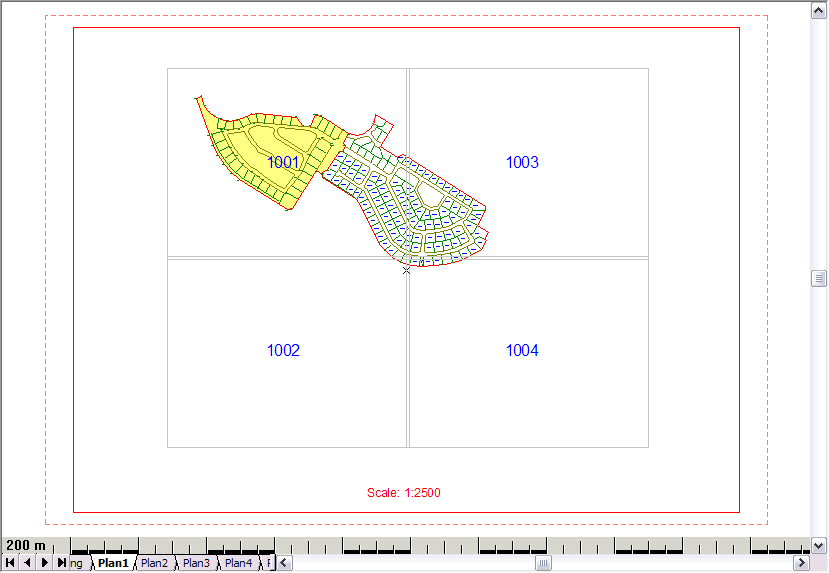
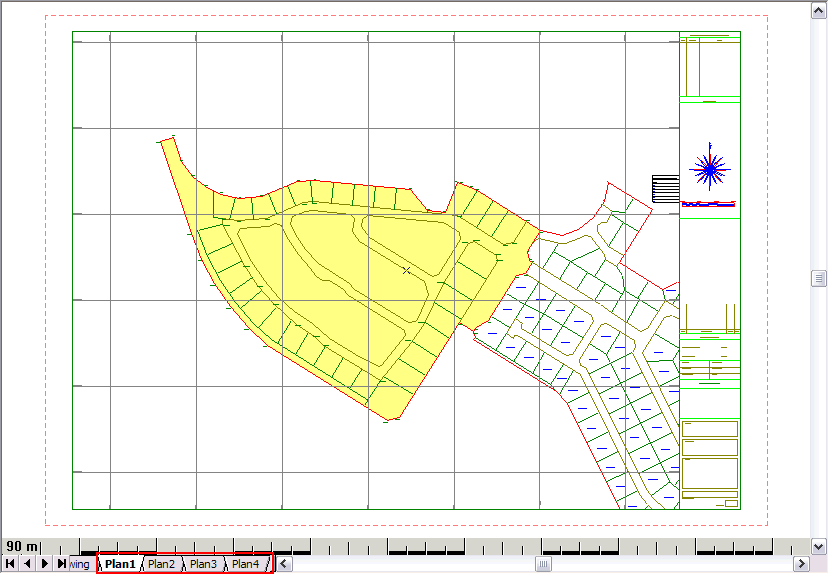
Click the bottom right corner of the plot area. The system determines the number of sheets that are required and updates the Plan Setup list.
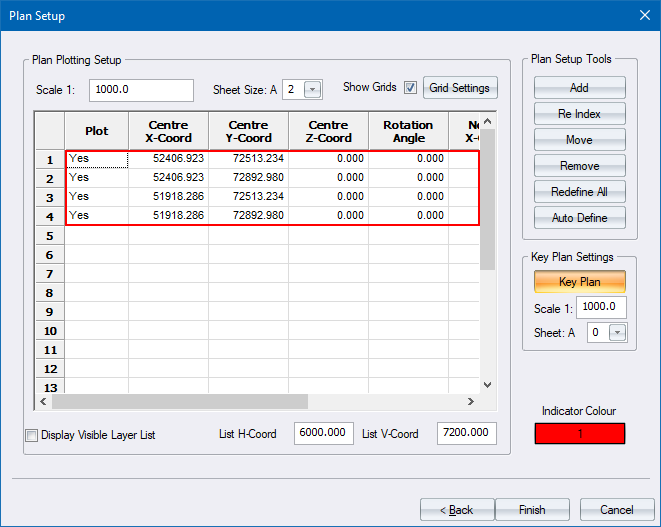
When you click Finish, a layout is created for each defined plot on the list, in this instance Plan1 through to Plan4.
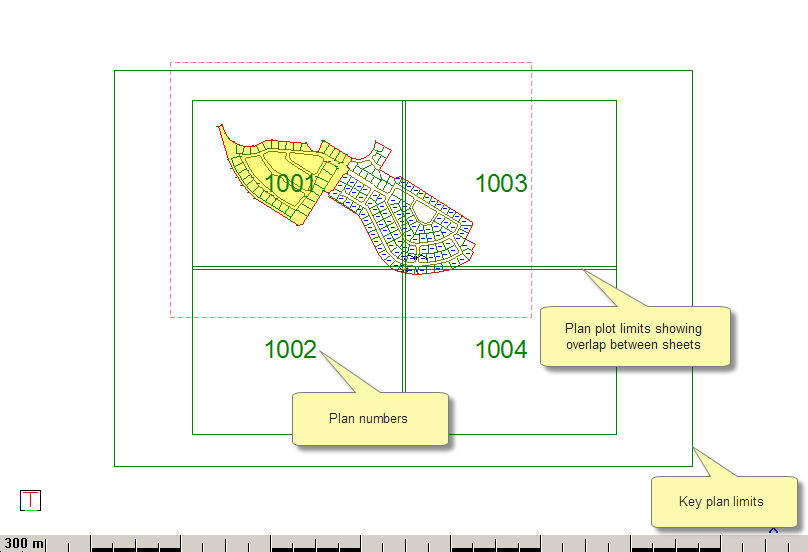
The Key plan option creates a drawing showing the position of the drawings relative to the whole site, as well as numbering the drawings automatically.
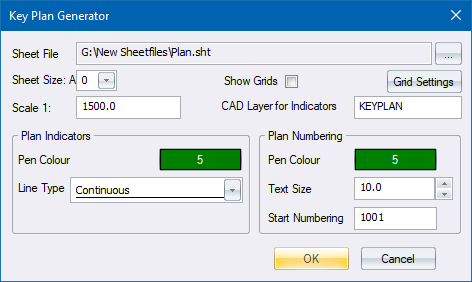
Select the sheet file, the key plan paper size and scale, as well as the plan indicator lines and plan numbering pen, text size and start number.
Click OK.
Indicate plot centre (Right-click to end)
Define the position of the key plan and right-click.