Icon
Command
Shortcut Key
Toolbar
![]()
INSERTBLOCK
Insert
Insert a block into a drawing.
|
Icon |
Command |
Shortcut Key |
Toolbar |
|
|
INSERTBLOCK |
|
Insert |
A block is a pre-defined and named group of entities, which you load from another drawing and insert into the current drawing.
This function allows you to select the block, specify the angle and scale, and also rotate the block, before inserting it.
Procedure
To insert a block into a drawing:
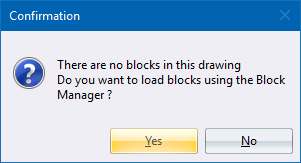
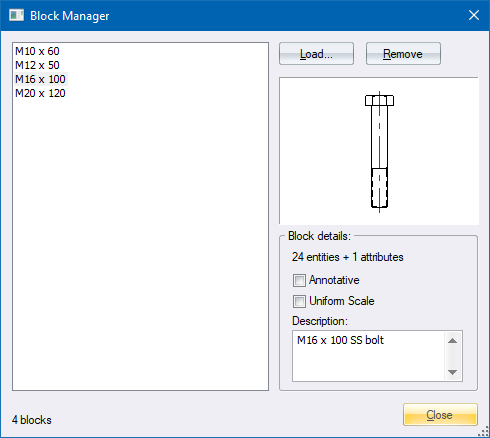
The following message displays if no blocks have been loaded to the current drawing. Click Yes to view the Block Manager. Here you can load blocks by clicking Load.

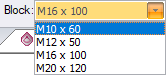
Select the block you want to use from the list of loaded blocks.
Alternatively, click ![]() to search for more blocks. In the Select Block window, you can load more blocks as required.
to search for more blocks. In the Select Block window, you can load more blocks as required.
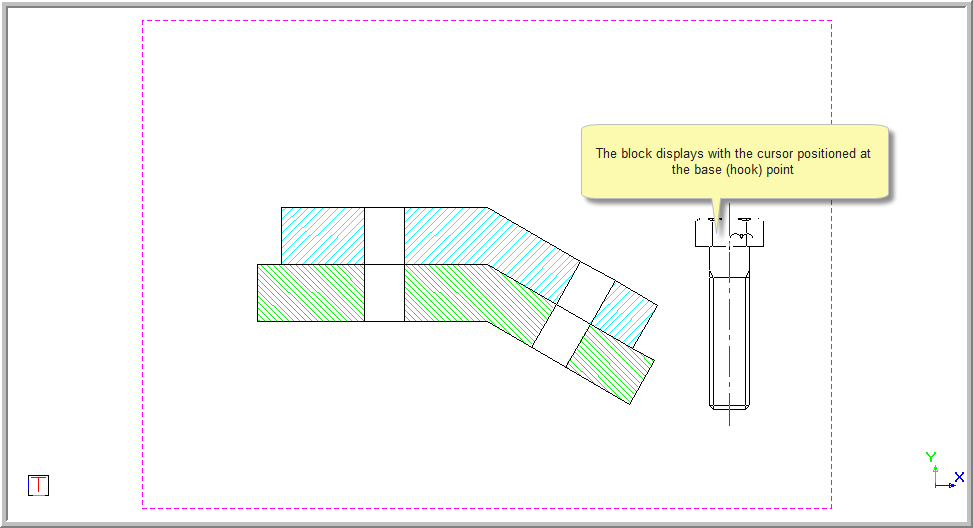
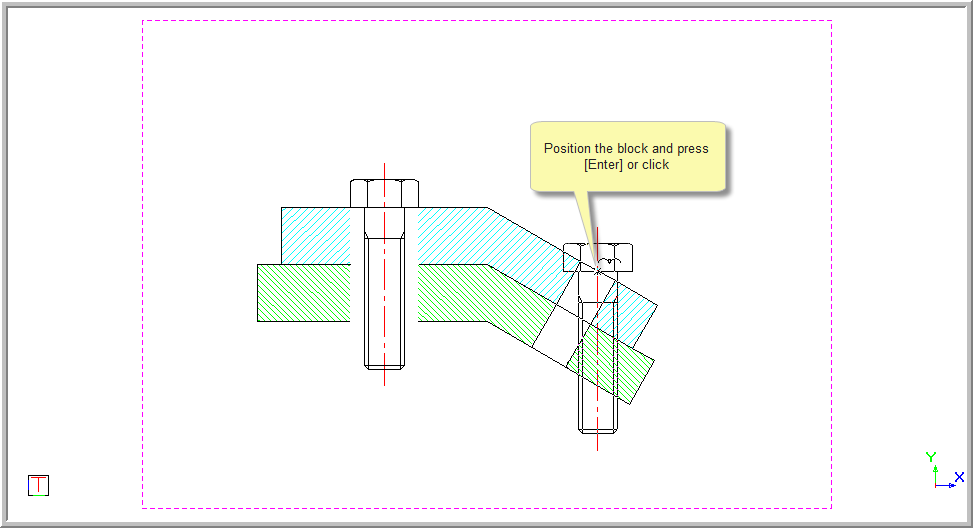
Select the required block. The block is displayed with the cursor positioned at the base point (hook point).
Position the block and then press [Enter] or click to insert it.

The block is inserted and the function repeats. When the block has been inserted, you can configure various settings.


|
Icon
|
Description |
|
|
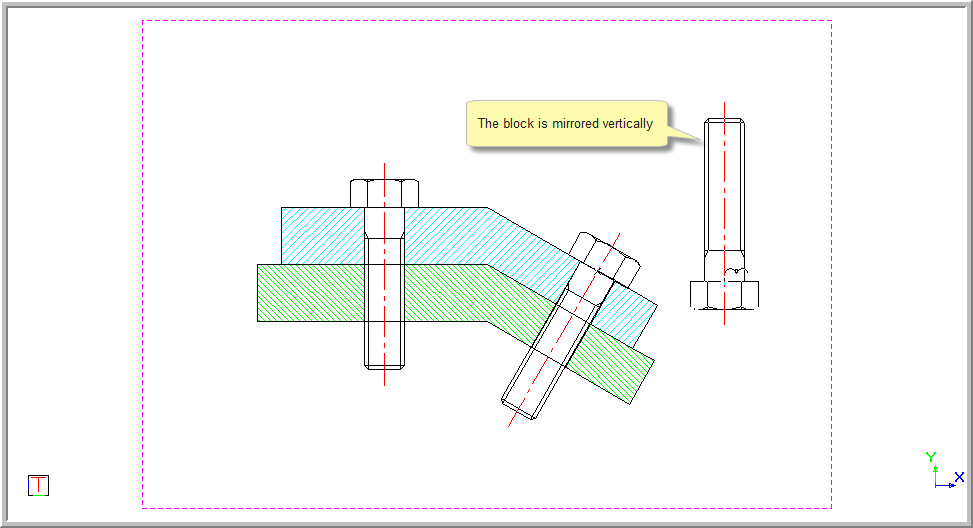
Mirror around the vertical axis. |
|
|
Mirror around the horizontal axis. |
The example below shows the bolt mirrored vertically.
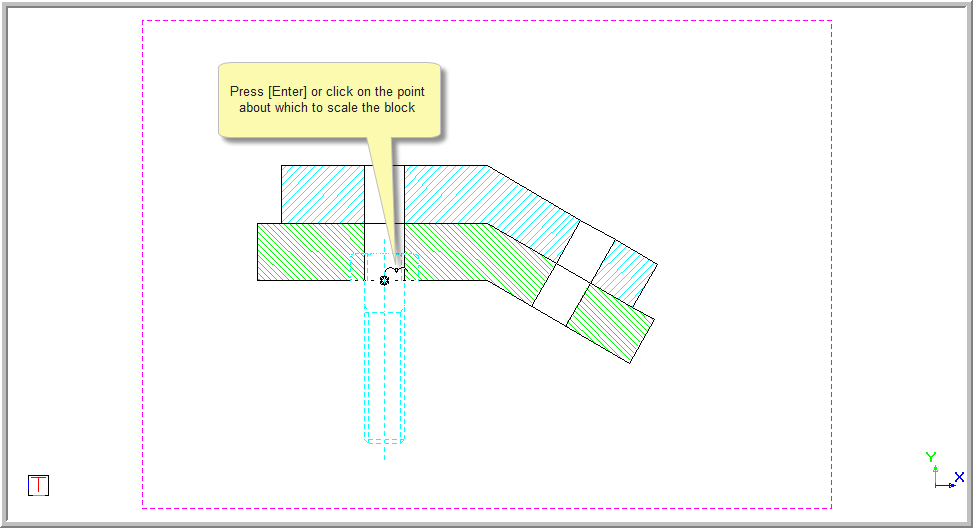
The Modify option allows you to scale and rotate the block after you have inserted it.

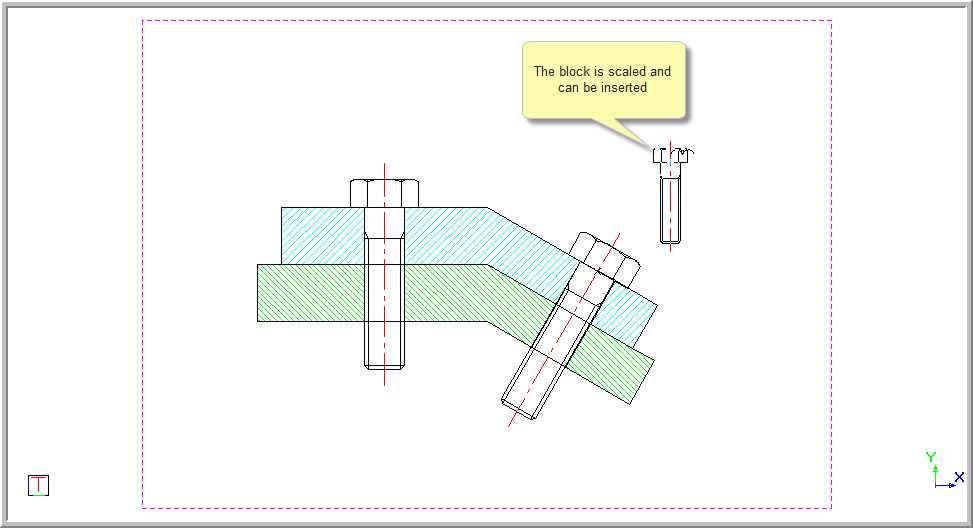
Press [Enter] or click on the point about which to scale the block.
You are prompted to:

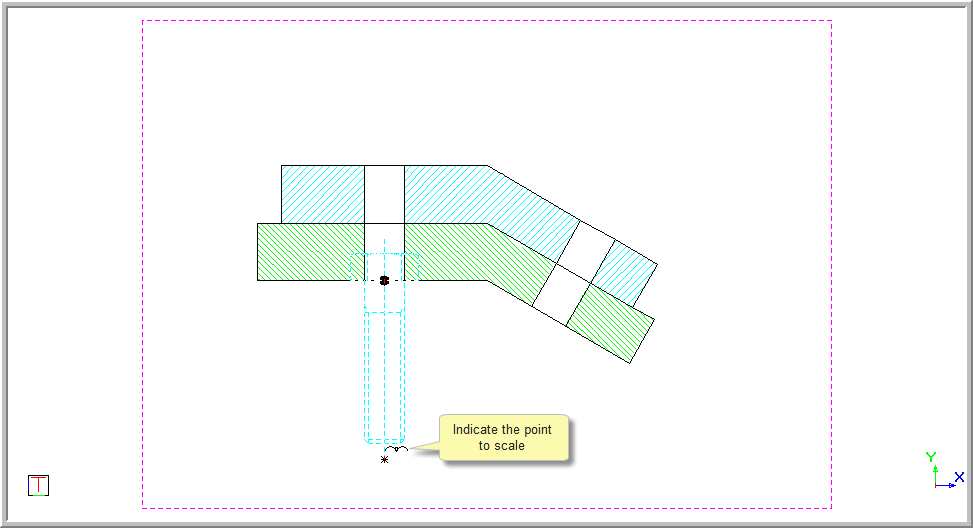

You can now drag the cursor and enter the position or enter the scale in the text boxes.

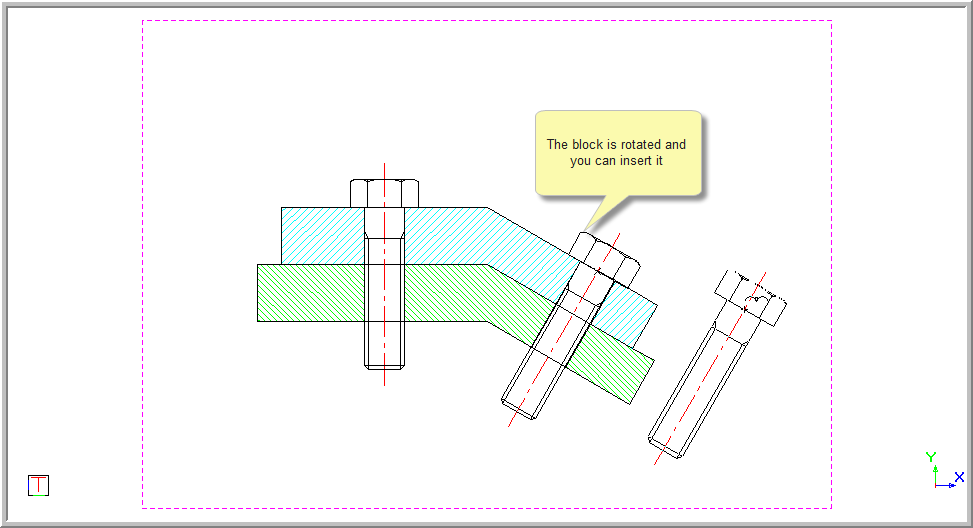
You can now select to rotate the block using the cursor or keyboard by inputting an angle in the text box.

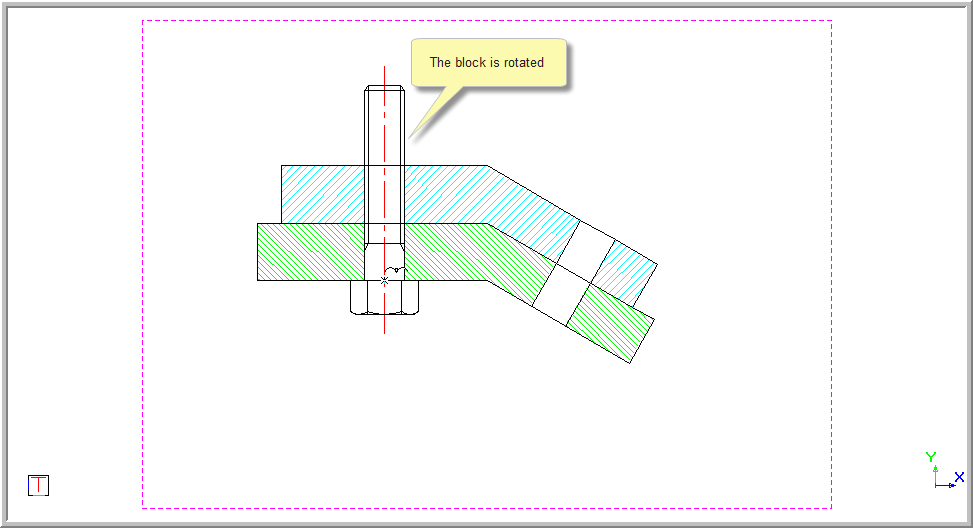
Select the method of rotation and indicate the point about which to rotate the block.
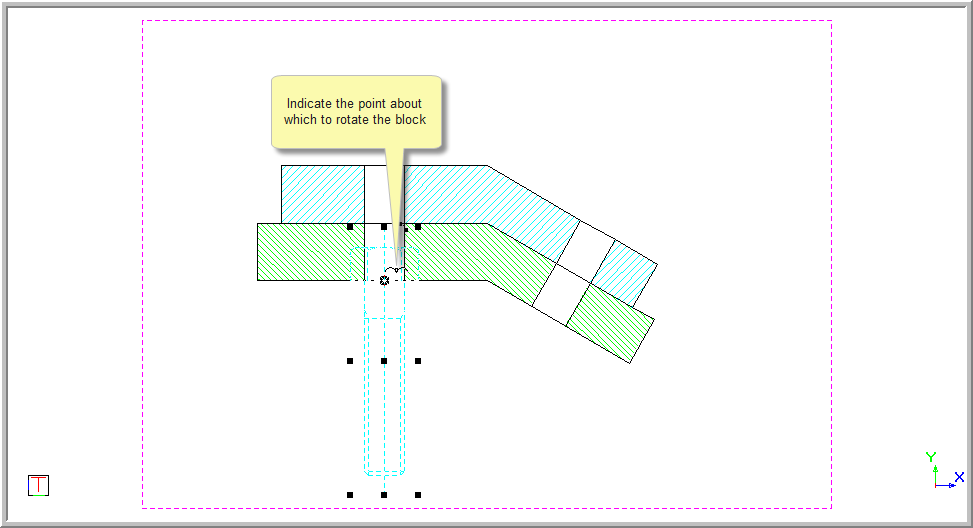
The block is rotated.
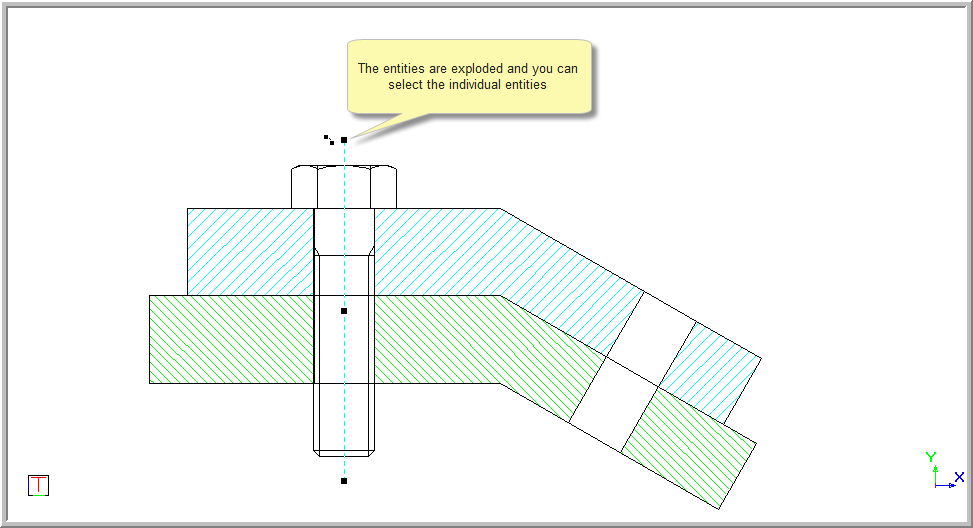
The entities in a block are all grouped together.
Select the Explode checkbox.

The block is inserted as normal. The grouped entities are exploded so that each entity can be selected.
This option creates a snip box around the block. The snip box is rectangular to the extremities of the block.
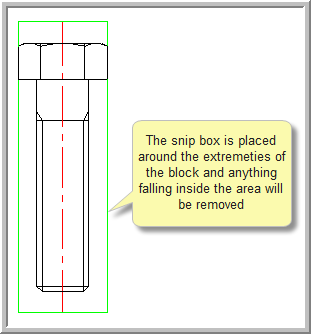
Valid entities in the drawing that lie inside the rectangular extremities of the block will be removed.
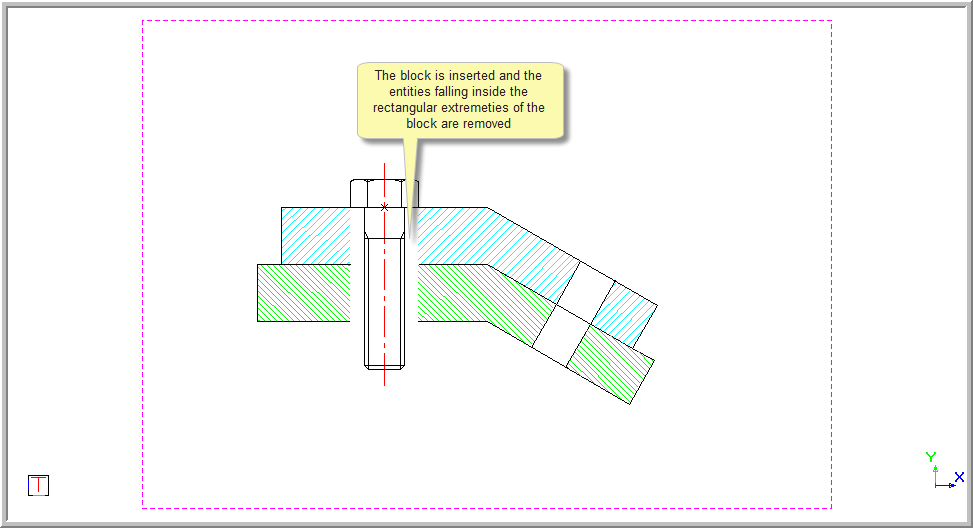
You are prompted to:

The block is inserted. The entities falling inside a rectangle formed by the block extremities will be removed.
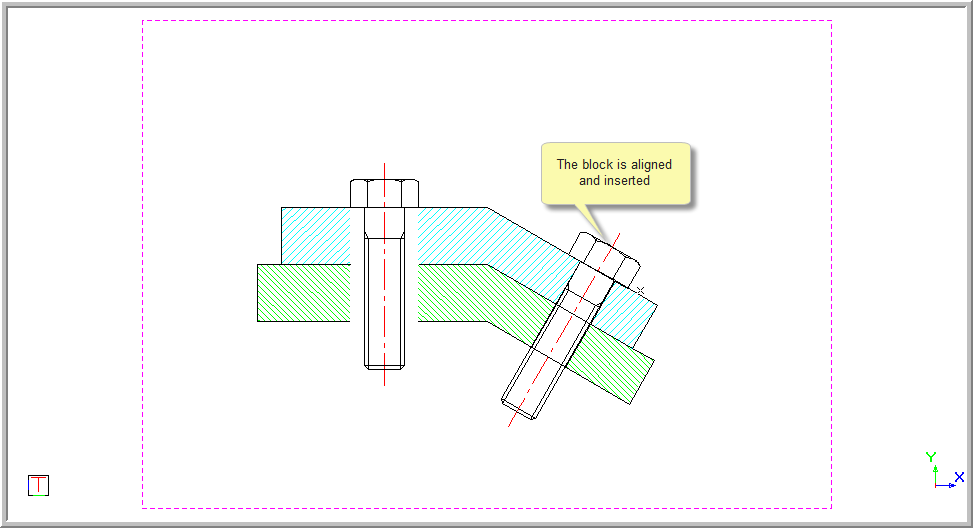
This option allows you to snap a block aligned to or perpendicular to another object.

Indicate line to align rotation to, near the end you want to rotate towards

The block is aligned and inserted.