Icon
Command
Shortcut Key
Toolbar
![]()
DPRIGHT
Drawing Plane
Home > CAD Mode > View > Drawing Plane > Right
Set the drawing plane to the right view.
|
Icon |
Command |
Shortcut Key |
Toolbar |
|
|
DPRIGHT |
|
Drawing Plane |
This function allows you to set the drawing plane to the right view (Y-Z plane). You can now draw in the right plane as set by the world origin (0;0;0).
 The horizontal and vertical axes are the "Y" and "Z" axes, respectively. The "X" axis is the height.
Procedure
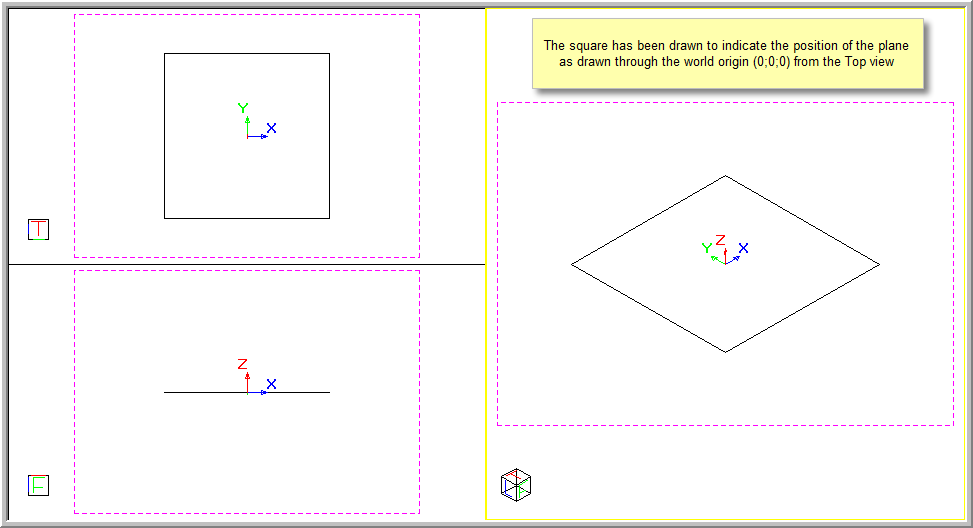
The figure below shows the front, top and SW Isometric views of a square drawn in the plane passing through the world origin of (0;0;0).
The Drawing Plane Indicator has been set to the Drawing Plane origin.
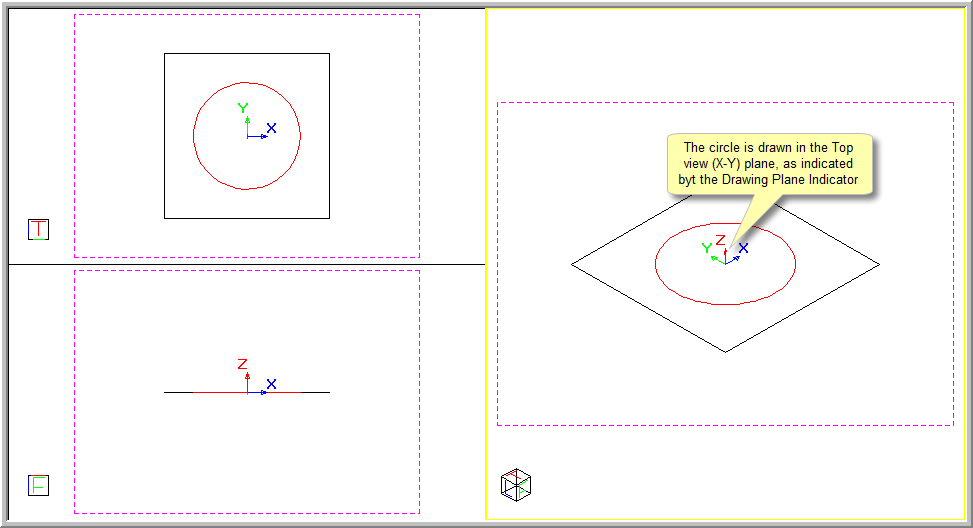
The active drawing plane is set to the top view, as indicated by the Drawing Plane Indicator, and the circle is drawn with its centre at the world origin (0;0;0).
To set the drawing plane to the right view (Y-Z plane):
Select View ► Drawing Plane ► Right or click the icon in the Drawing Plane toolbar.
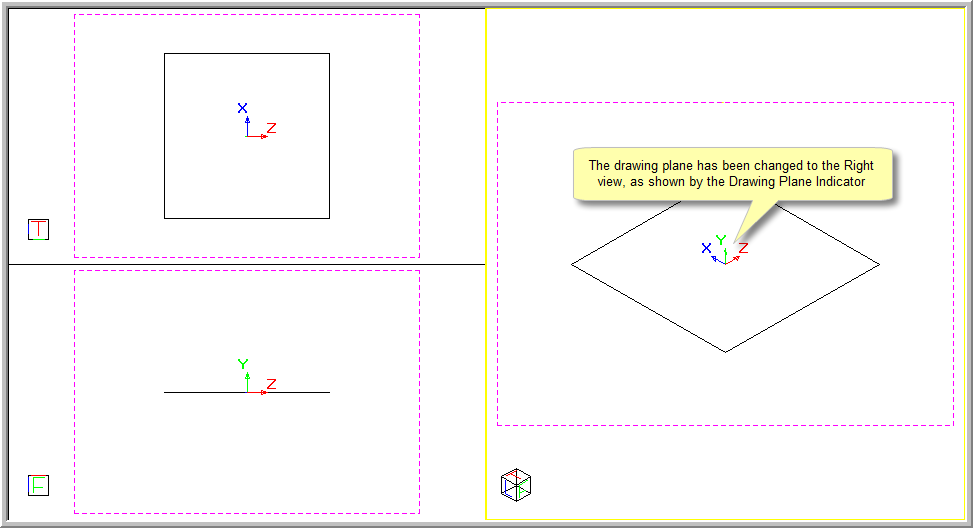
The new drawing plane is positioned about the world coordinates (0;0;0).
Any entities drawn will be viewed on the "Left" plane (Y-Z plane) at an elevation of zero.
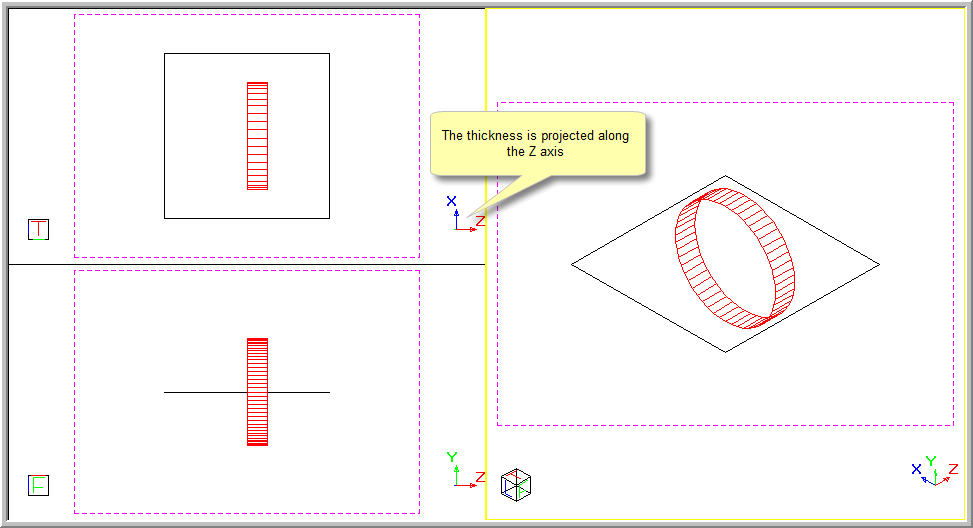
The diagram below shows a circle drawn with its centre at the world origin (0;0;0) with the Drawing Plane set to the left view (Y-Z plane).
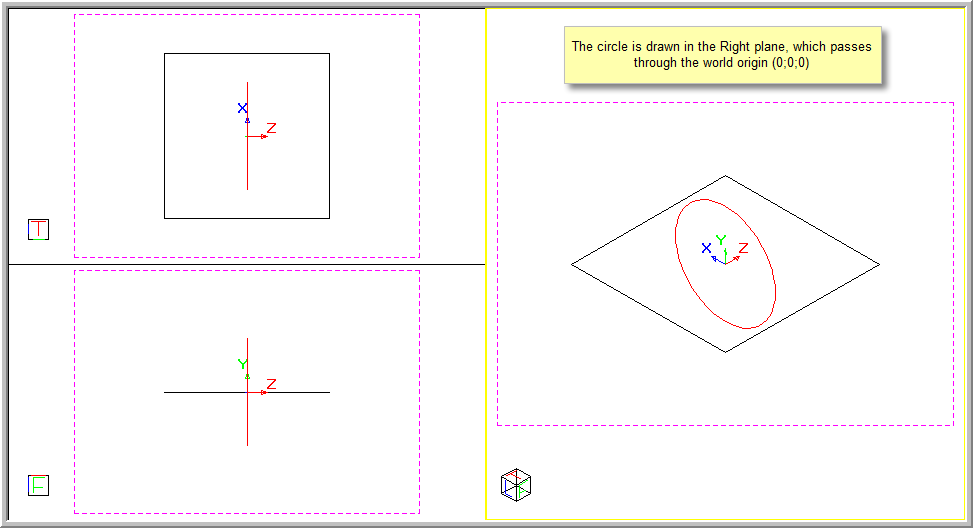
The circular entity has been given a thickness of 20 to show how it is projected along the "Z" axis, below the drawing plane.
