 It should be noted that there is nothing in the routine that cannot be handled as well or better, by setting up a suitable template for that subsurface layer.
Create layerworks by deduction, from an existing cross-section
|
Icon |
Command |
Shortcut Key |
Toolbar |
|
|
RD_SECBOXDEDUCT |
|
|
This function allows you to create simple earthwork cross-sections from an existing final road layer, by deducting a layer of a certain depth between specified offsets. In a cut situation, this layer normally has vertical sides resulting in an earthwork 'box'.
It is also possible to specify that the bottom of the 'box' be extended to attempt to intersect with the left side, the right side or both batters of the layer. This caters specifically for layer works in fills that are not boxed. If an intersection cannot be achieved, a normal box is generated. For dual carriageway roads, the routine normally has to be performed twice, once for each carriageway.
The depth of the box to deduct must be entered, as well as specifying whether the base of the box should attempt to intersect with the left and/or right batters of the section. There is an option to either ignore or add the points beyond the limits of the created box. Ignoring the points yields a section that is confined to the box bottom and walls alone, and is the most common choice if only a visual representation or plot of the section is required. Adding the points results in all the data beyond the box limits being included in the new section. This includes the batters, if present. This option would be used if areas and volumes were required from the resulting cross-section.
It should be noted that there is nothing in the routine that cannot be handled as well or better, by setting up a suitable template for that subsurface layer.
Procedure
The Process Details display.
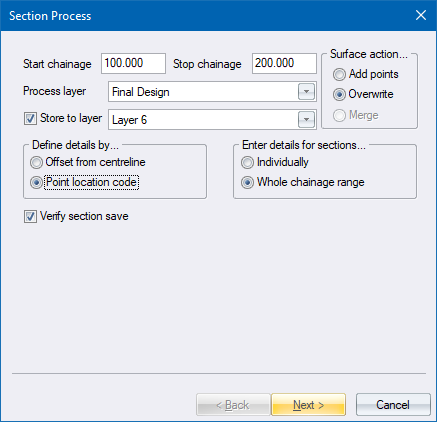
Fill in the relevant data and click Next to continue.

Fill in the relevant data and click Finish to continue.
If you selected the Individually option for Enter details for sections in the Process Details, the Layerwork Box Deduction settings displayed for each chainage in the range, giving you the opportunity to alter the specified offset for each chainage.
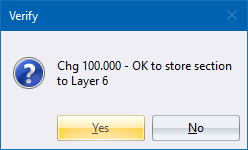
Click Yes to save the updated cross-section; or No to retain the existing cross-section.