Home > CAD Mode > Tools > Jumps
Jumps allow you to move to exact points in the drawing and assist with drawing accurately.

You may be asked to indicate the point to jump to, or if you have used the keyboard option, the jump will be performed to the nearest entity.
Icon
|
Shortcut
|
Name
|
Jump to...
|
|
0 |
Any intersection. |
|
|
* |
The centre of the indicated circle. |
|
|
A |
Any reference point specified in the GrabAll setup. |
|
|
C |
The midpoint of an entity. |
|
|
E |
The centre point of a circle by indicating a point on the circumference. |
|
|
G |
A grid position. |
|
|
I |
An intersection of geometry entities. |
|
|
J |
The nearest entity reference point. |
|
|
N |
The closest point on the nearest entity. |
|
|
R |
A specified ratio on an entity or between two points. |
|
|
P |
A specified distance and angle (bearing). |
|
|
U |
A specified coordinate position. |
|
|
V |
A quadrant position on a circle circumference. |
|
|
X |
The last entered position. |
|
|
F |
Line Extension |
|
|
Ctrl+I |
Line Intersection |
|
|
|
|
Toggle the display of the grid between On/Off. |
|
Ctrl+ . |
Polygon Centroid |
The centroid of the nearest polyline entity. |
 Press [Enter] after jumping if you want
to input the jumped-to point to the current function.
The 3D Jump option changes the way the keyboard Jumps behave to make it more consistent with the way that the Snaps work in 3D.
If the 3D Jump option is disabled in System Settings ► General, the keyboard Jumps work as they did before. The point that you jump to is projected using the current view direction onto the current drawing plane (DP). When working in 2D, the projected point is the same as the Jump point. However, when working in 3D, the projected point may be "in front of" or "behind" the Jump point.
If the 3D Jump option is enabled, the 3D point that you jump to on an entity is not projected. However, if DP Snap is on, the Jump point is "dropped" onto the drawing plane.
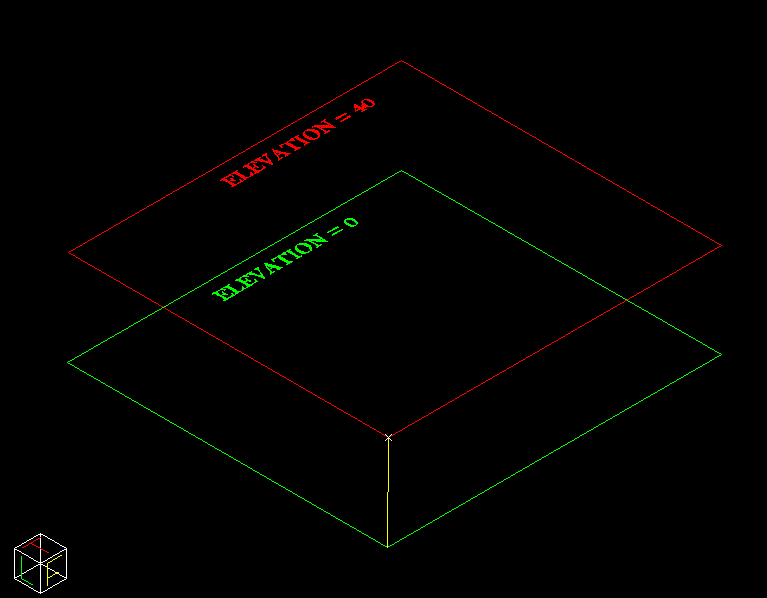
In the example below (SW Isometric View), we have disabled the 3D Jump option in System Settings. We have then drawn the yellow line from the green rectangle at elevation 0 to the red rectangle at elevation 40, by using the [J] key to jump to the corner of the green rectangle, then the corner of the red rectangle. From this view direction it looks like the yellow line correctly joins the green and red rectangles.

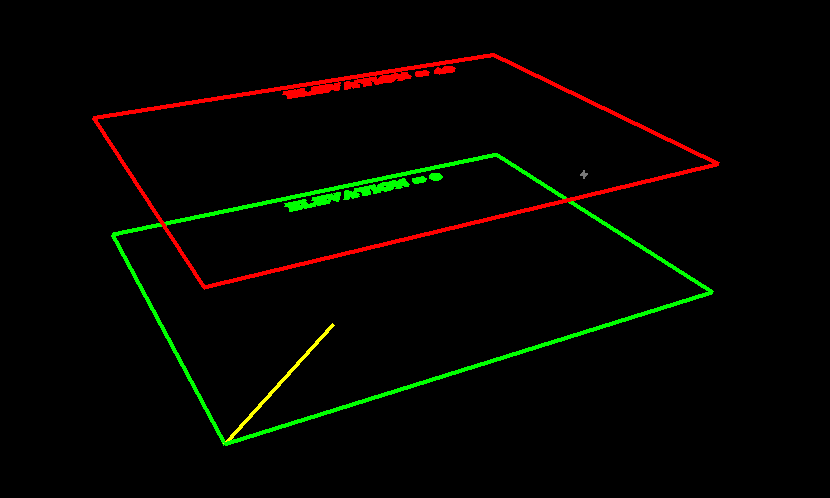
However, if you change the view direction or view the drawing in the Render View, you will see the 2nd point of the yellow line has been projected "into" the screen on the DP (elevation = 0), which is probably not what you wanted.

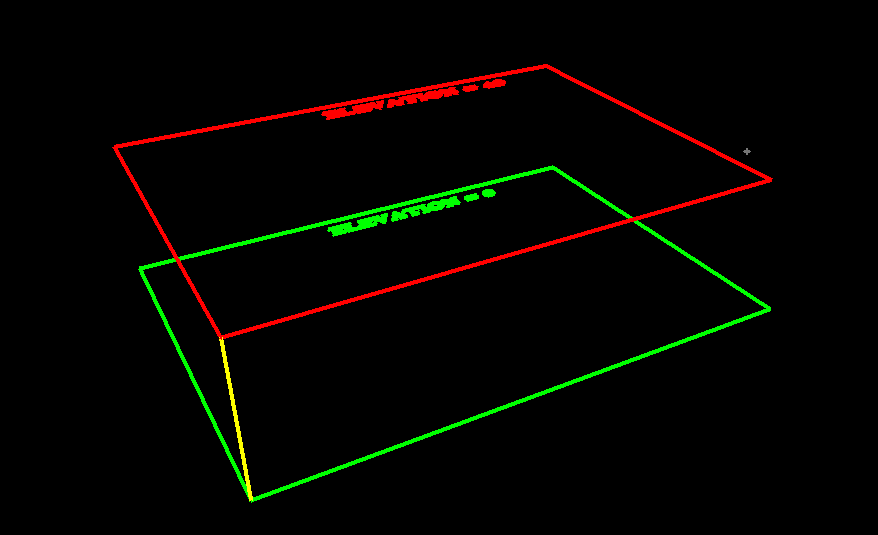
If we enable the "3D Jumps" options in System Settings, and then draw the yellow line again using the [J] key Jump (with DP snap disabled), the yellow line start and end points will coincide with the corners we jumped to. See Render View representation of the result below.
