Home > Roads Mode > Tools > Template Paths
Associate a number with a template name and path.
|
Icon |
Command |
Shortcut Key |
Toolbar |
|
|
RD_TEMPLATEPATHS |
|
|
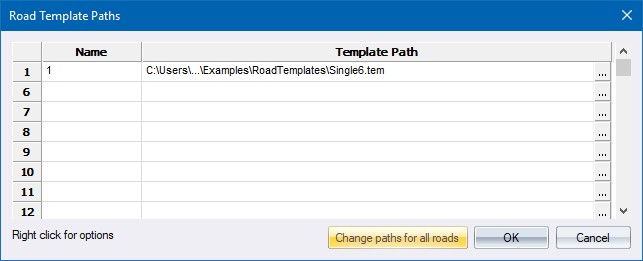
This function allows you to establish the link between the disk path and filename of a template file, and the template number that is used in the road file as a reference to that particular template.
The Template number has to be entered and the path selected with the browse facility.
Usually a library of templates is built up in a particular directory. These templates can then be used by any user on any job. For example, the template in D:\TEMPLATES\BUS1.TEM might be called template '2' in roads 1 and 5, but be called template 1 in road 4.
Procedure

You can change the template paths of all the roads in a project. Civil Designer goes through all the existing template paths and update them to refer to the new location if the new folder contains the template specified by the original entry. For example, if the Road Template Paths dialog refers to a file called Single6.tem and you specify a new path, the path will be changed if the Single6.tem file exists in the new location. If it does not exist in the new location, the path entry will remain unchanged and it will be indicated in the Output window.


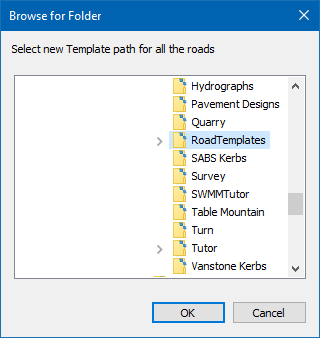
The default path is the DTM file path, where your road files are stored. Browse to the new folder where your templates reside and click OK.
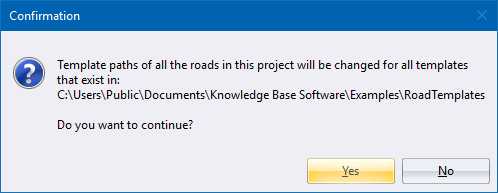
The following Confirmation dialog displays.

Click Yes to continue. The Output window displays the changes that have been made to the DES8 files.
