Customising Toolbars
Toolbar files used by Civil Designer have the extension .tbr.
A specialised, called the Toolbar Editor, is available for changing toolbar files and can be found under the Tools menu of the Civil Designer Start Menu folder.
Procedure
- Open the Toolbar Editor using the Start ► All Programs ► AllyCAD 8.0 ► Tools ► Toolbar Editor menu option.
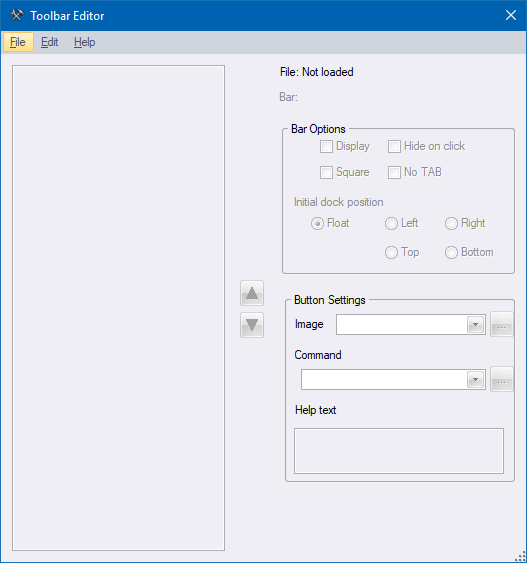
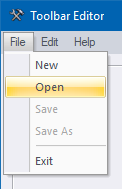
- You are going to add a toolbar called "My Tools" and then add icons to run a CAD function. The first step is to load the standard toolbar file using the File ► Open menu option.
- The Toolbar Editor open dialog displays.
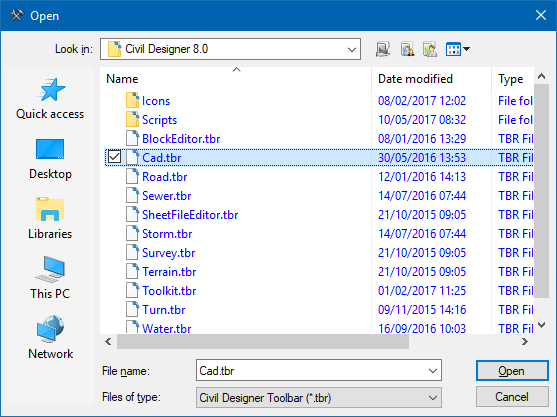
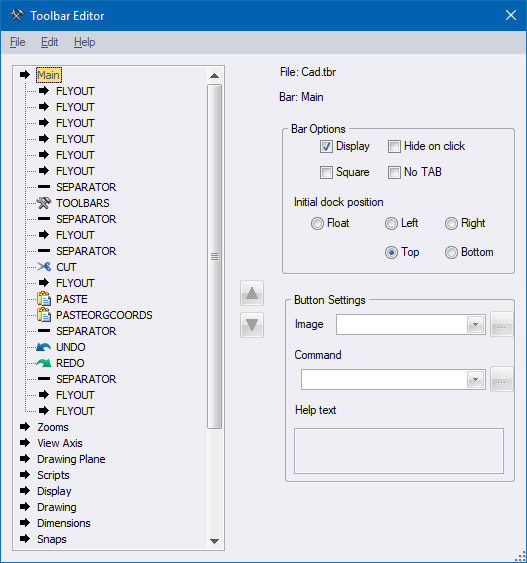
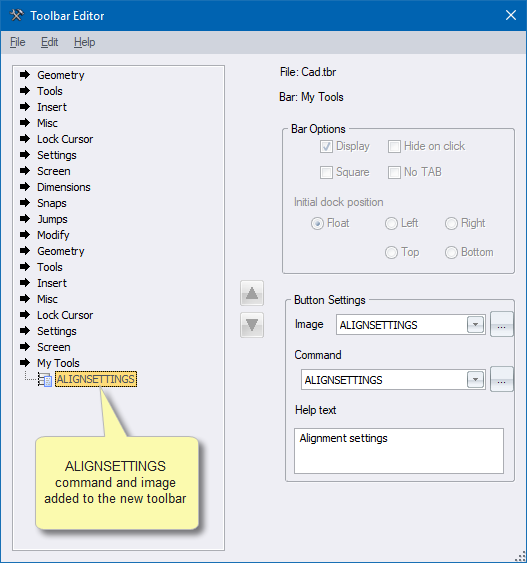
- Select the cad.tbr file and then click Open. The toolbar file opens in the editor and displays as shown below.
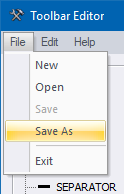
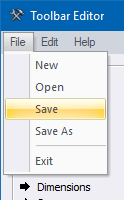
- Once you have opened the default menu file you will save the file to the user folder, which prevents the file being overwritten when any updates are released. Select the File ► Save As menu option.
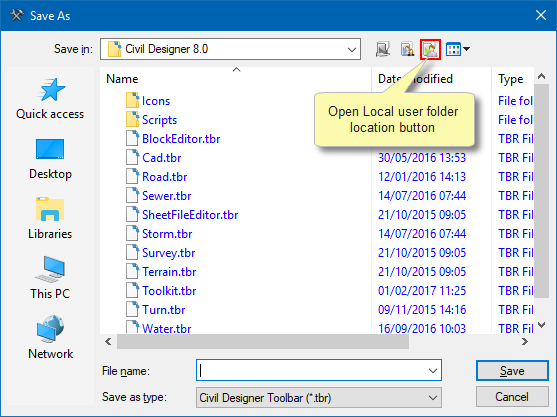
- Click Open Local user folder location and save the toolbar file as CAD.TBR, which is the same name as the original toolber file. Now click Save.
Adding a New Toolbar
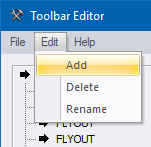
- To add the new "My Tools" menu item, select Edit ► Add.
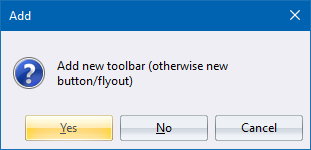
- The following message displays. You are adding a new toolbar so click Yes. If you click No the system adds a button or flyout to the highlighted toolbar.
-
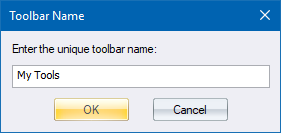
The Toolbar Name dialog displays. Type in the name of the new tool bar, "My Tools", then click OK to continue.
- The new My Tools toolbar will be added to the toolbar list with a default button called UNKNOWN.
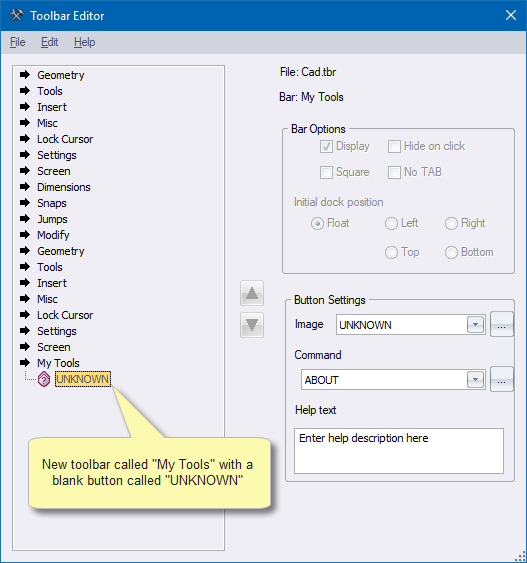
- Click UNKNOWN. The Button Settings update to display the image associated with the button, as well as the command and help text that will be associated with the new button. You can use either one of the built in icons or icons that have previously been created.
Adding a Built-in Icon
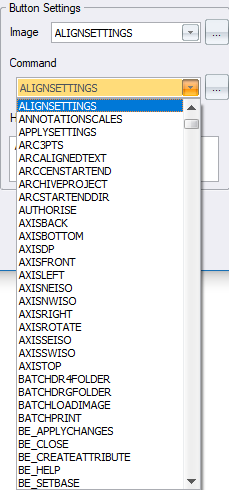
- Select an image to be used for the new button. Click the dropdown to view a list with the default images included with AllyCAD.
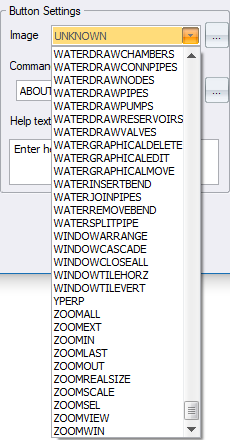
- Scroll up and select the ALIGNSETTINGS option.
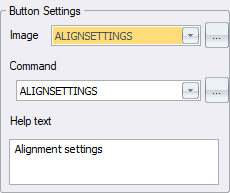
- As this is an existing AllyCAD command with an associated image, both the command entry and the help text are also updated.
Adding an External Icon
-
Click ... next to the option above.
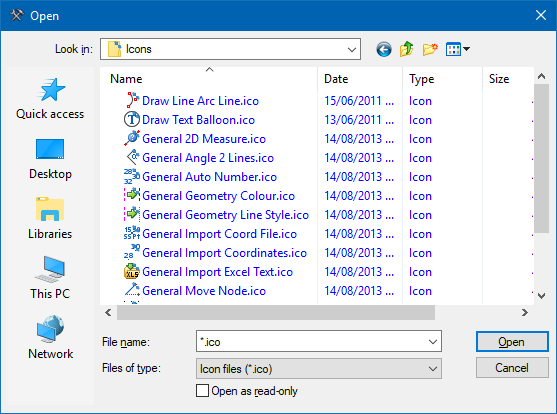
- The Open dialog opens so you can browse to a folder that contains icons that have been previously created.
 User-defined images must be supplied in an .ico (icon) file in True Colour + Alpha Channel (32 bit) format. The icon file must contain two icons, the first being 16 pixels wide by 16 pixels high, and the second 24 pixels wide by 24 pixels high. Tthis allows us to easily support two sizes of toolbar - standard and large. Use the alpha channel to define areas in the images that must be transparent when displayed on a toolbar. There are many good icon editors available.
The filename of such an image, without the .ico extension, must not clash with the name of an internal image otherwise the internal image will be used. The easiest way to prevent such a clash is to store the icons in a sub-folder of the folder containing the toolbar file. All such sub-folders must be relative to the folder in which the toolbar file is stored.
- Thereafter, select an appropriate command from the Command list.
Save the Toolbar
- Save the changes to the toolbar by selecting File ► Save.
Viewing the New Toolbar
-
To view the new toolbar, AllyCAD will have to be closed and re-opened.
-
Once AllyCAD has been re-opened, select View ► Toolbars.
- The new toolbar is listed.
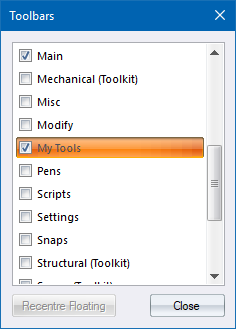
- Select the new toolbar and close the toolbars window to display it.