Icon
Command
Menu
Toolbar
![]()
TK_SGTRACEPOLYAREA
Toolkit
Survey
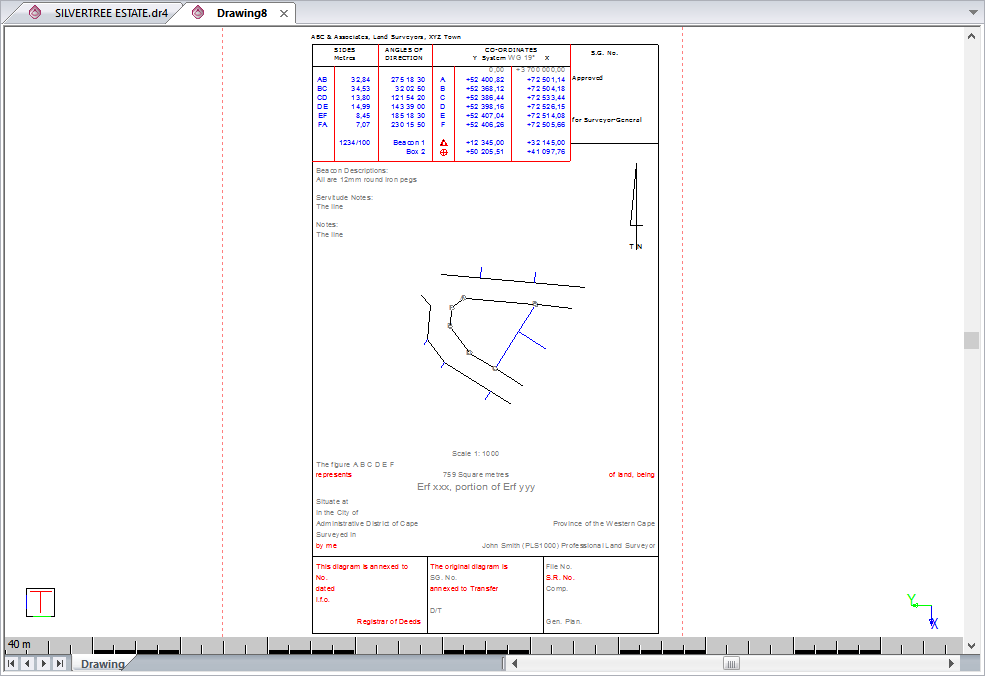
Create an SG diagram.
|
Icon |
Command |
Menu |
Toolbar |
|
|
TK_SGTRACEPOLYAREA |
Toolkit |
Survey |
This function allows you to define the figure to be included in the SG diagram. Set the diagram defaults using the Survey Diagram setup.
Procedure
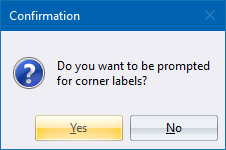
Click Yes to enter corner labels as you define them; or No for no corner labels.
Indicate first corner of outside figure
Indicate the first consistency point graphically.

Accept the displayed label or type in a new label, and then click Enter  to proceed.
Indicate next corner of outside figure (Re-indicate start to end)
With every additional corner point, the label is automatically incremented.
Click on the first point to terminate the function and generate the SG diagram.
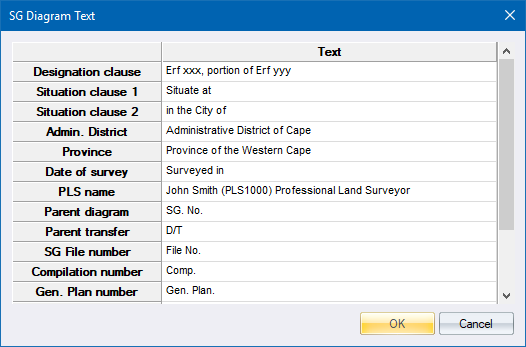
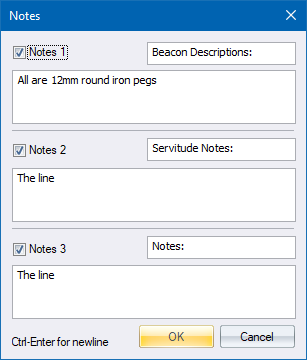
Click OK once you are satisfied with the text items.

Click OK to proceed.
The SG diagram is generated and you are asked to position the figure in the sheet.