Icon
Command
Shortcut Key
Toolbar
![]()
LWPOLYLINE
Drawing
Draw a connected sequence of lines and arcs that are a single entity on a plane.
|
Icon |
Command |
Shortcut Key |
Toolbar |
|
|
LWPOLYLINE |
|
Drawing |
Lightweight polylines draw all edges in a plane (the drawing plane). If you change the drawing plane while drawing a lightweight polyline, the cursor positioning will be restricting. This is because the CAD is trying to position the point on both the drawing plane and the object plane. If these are not the same, the mouse will not behave as expected.
The lightweight polyline can be smoothed using the Property Bar.
 When drawing an arc (Start-Centre-End), the end point will not necessarily coincide with the click (or snap) point. The arc must have the radius calculated from the start point so the end point will be the nearest point on the circle of that radius centred at the arc centre point.
Procedure



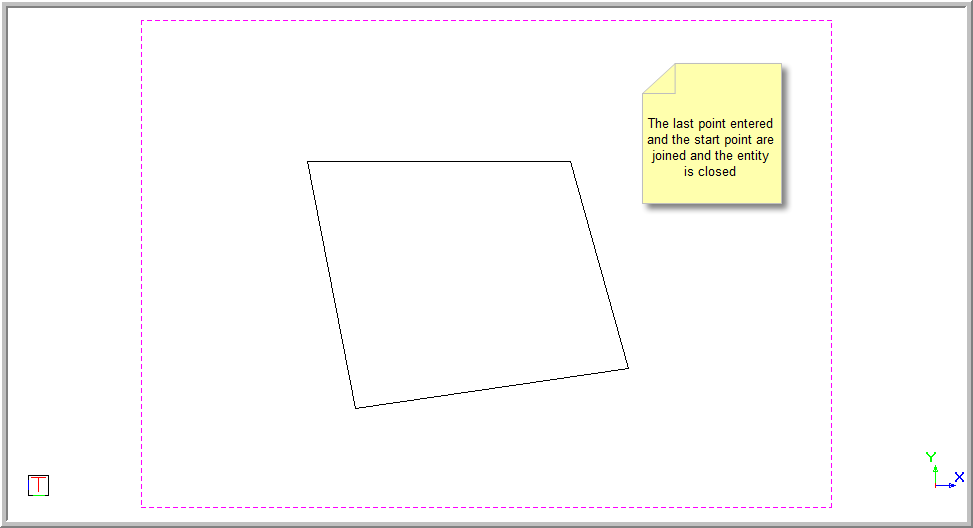
If you select Close, the polyline jumps between the last point entered and the start point, and the entity is closed.
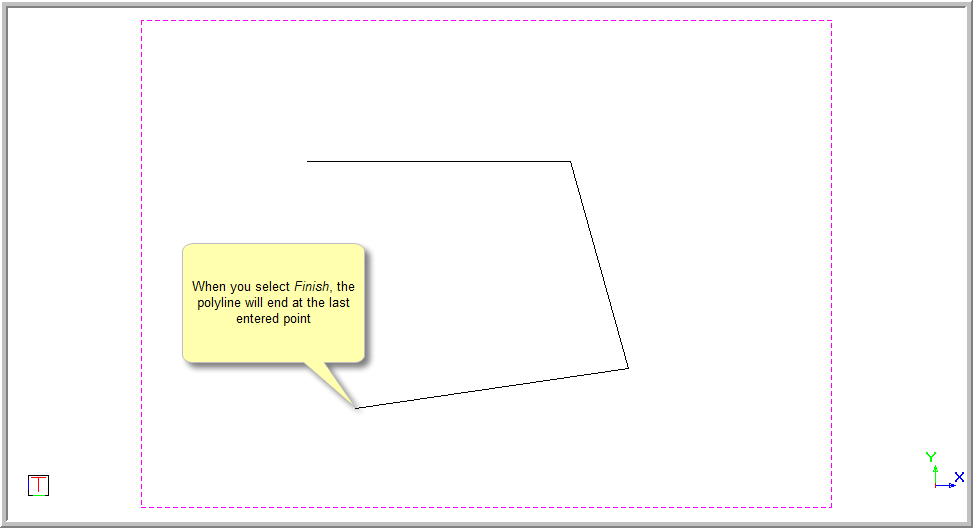
If you select Finish, the polyline ends at the last entered position.
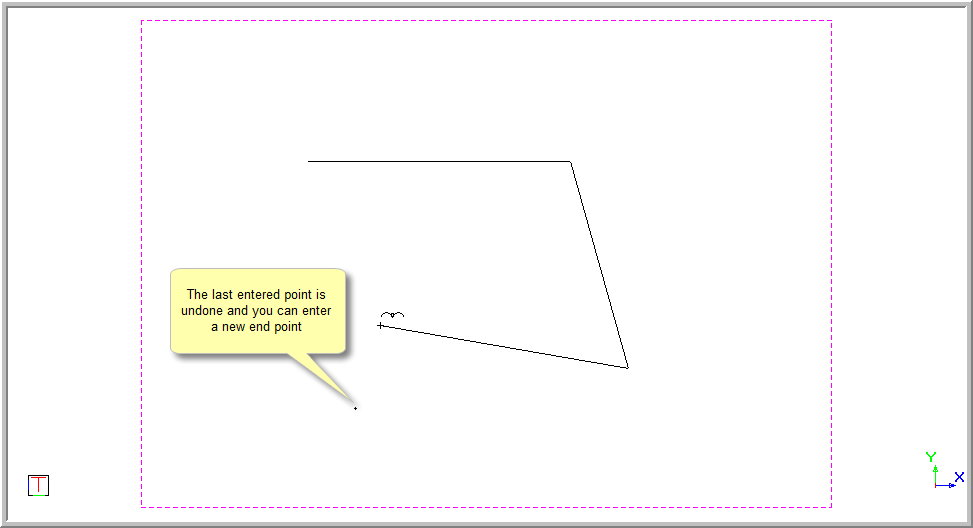
If you select Cancel Last, the last drawn portion of the polyline is removed and the polyline is drawn from the previously entered point.
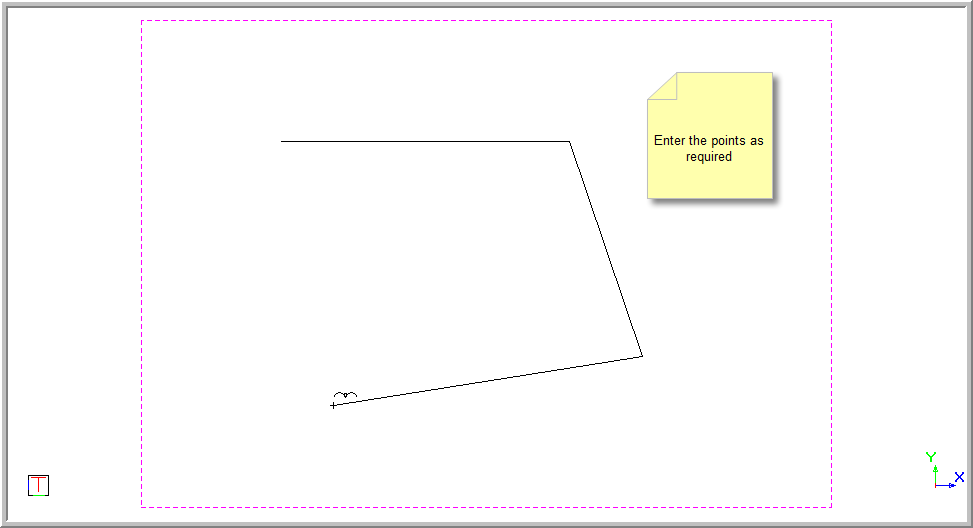
If you select Cancel, all drawn entities are removed and you are able to enter the points from scratch.
If you press [Down] and select the Arc option in the Control Bar area, you can select the method of drawing the arc from the Arc options drop down menu.


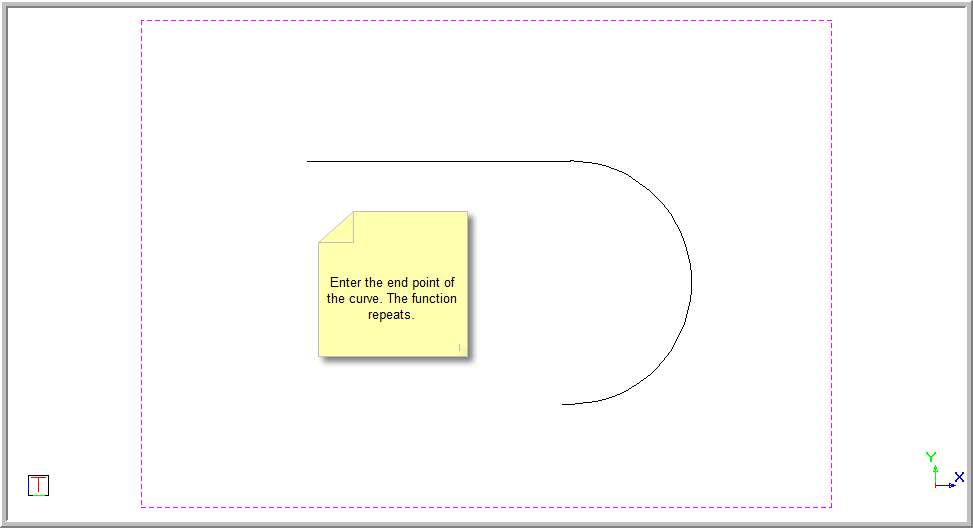
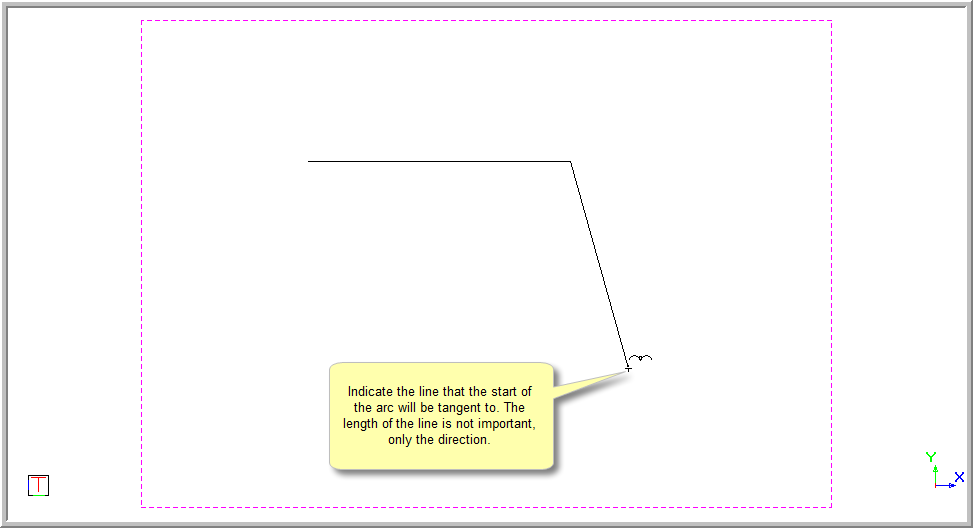
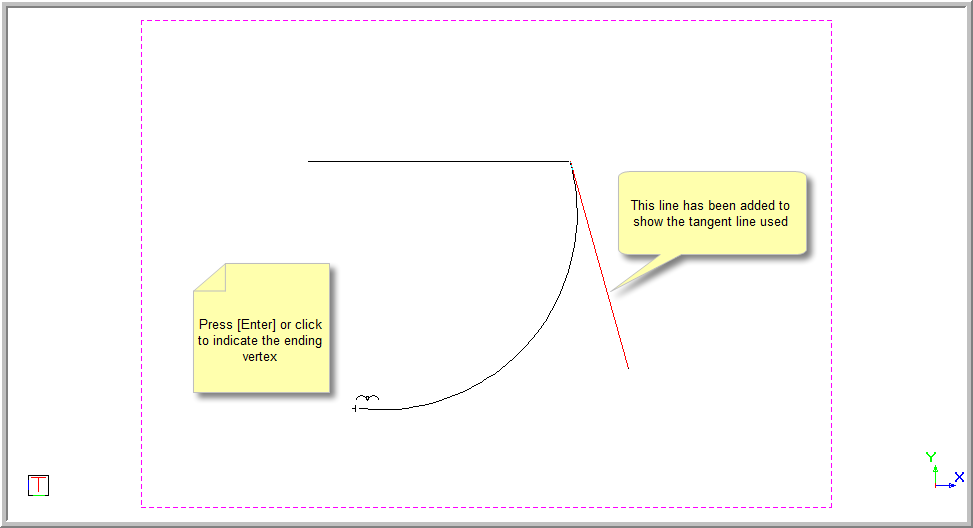
The arc is drawn using the tangent direction at the end of the previous edge as the tangent direction at the start of the arc, giving second-order continuity to the polyline.


The arc is drawn to the cursor.

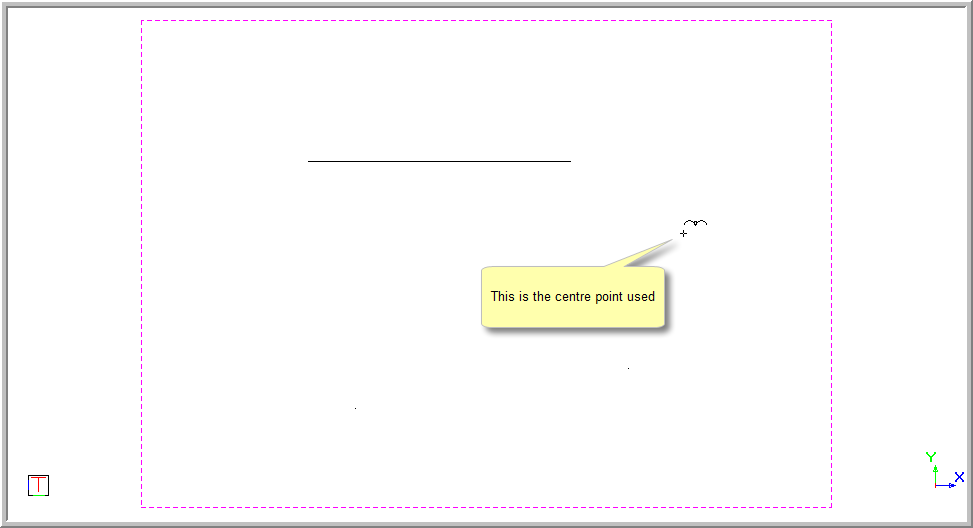

The arc is drawn with the centre point as indicated.
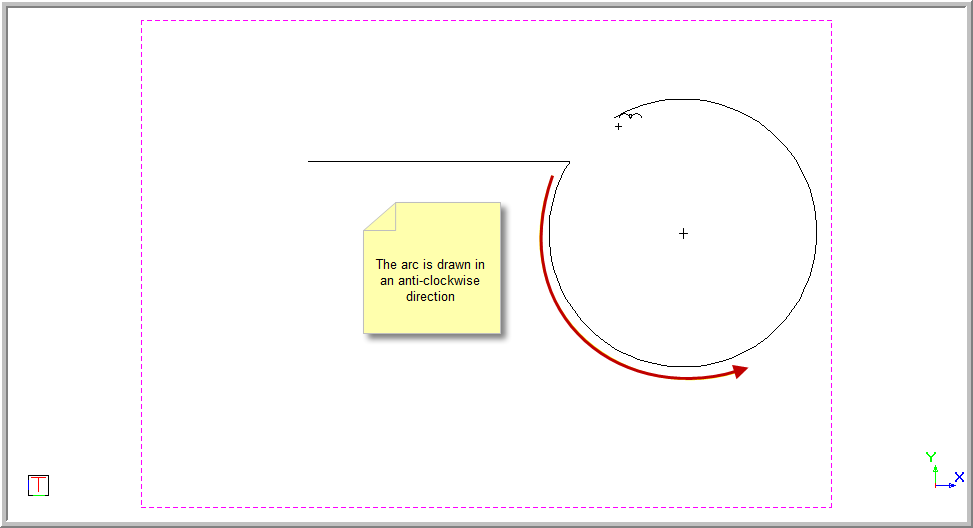

Position the cursor over the desired point and click or press [Enter].
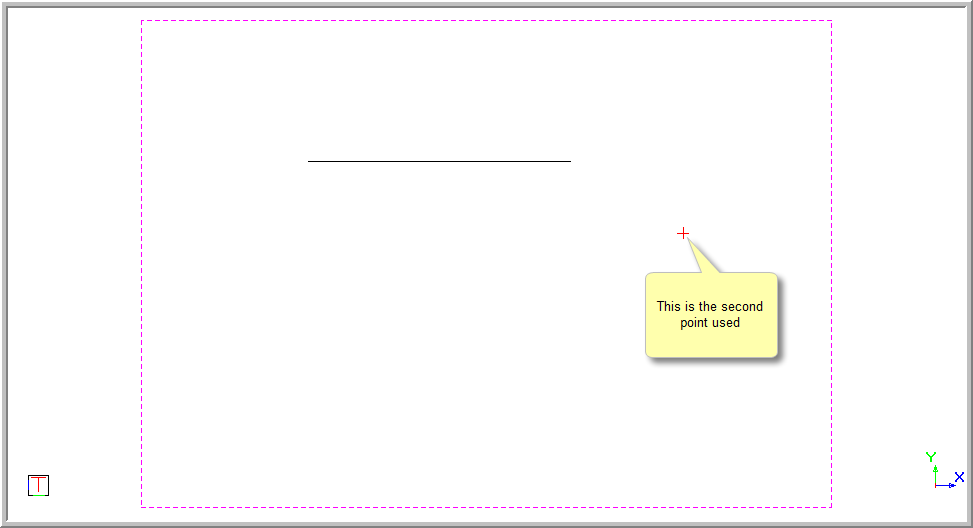
The arc is the arc of a circle that passes through the start point, the second point (the point currently being entered) and the end point, which you will enter last.
Position the cursor over the desired second point and click or press [Enter].
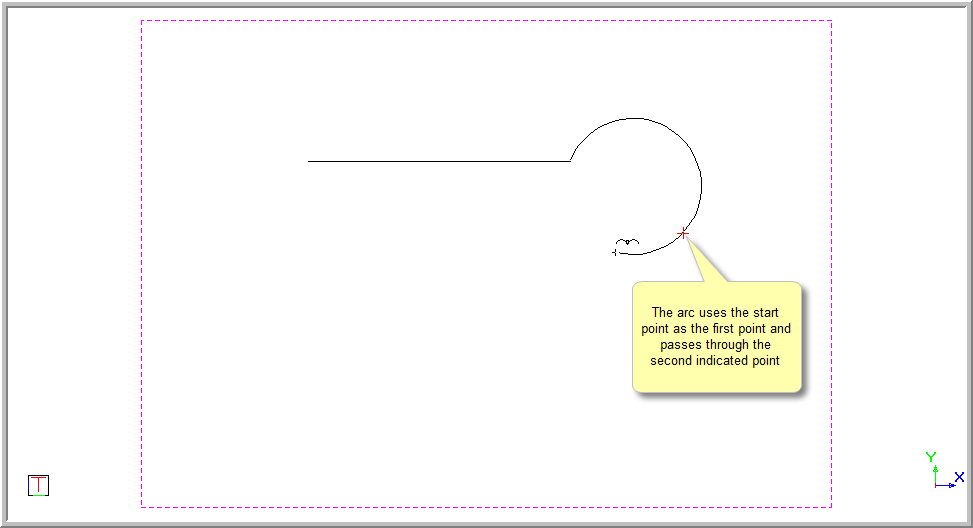
You are prompted to:

The Arc option is set to Default and an arc is drawn on the screen from the start point through the second point.
Position the cursor over the desired end point and click or press [Enter]. The arc is inserted.
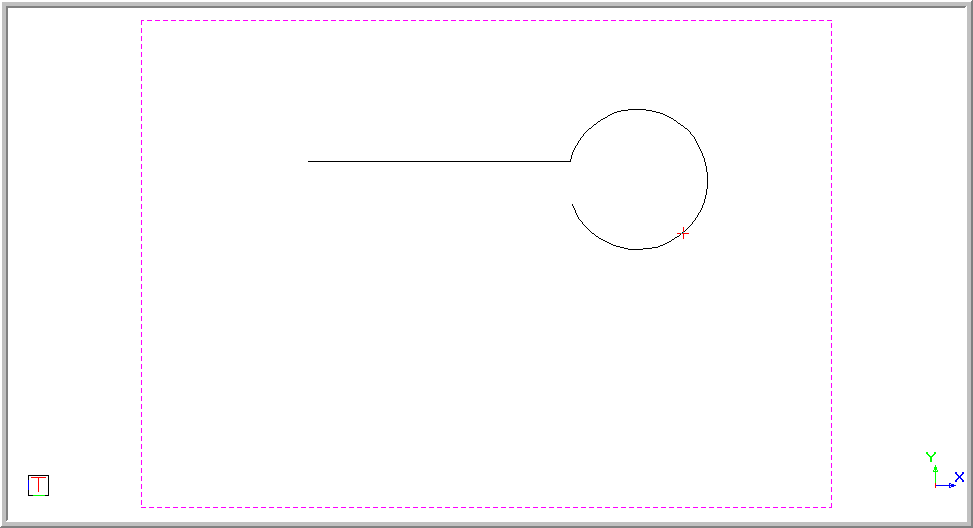
The function repeats with the Default option. You must select the Arc option you require for each edge.
If you right-click the drawing area, the popup context menu appears and you can choose an option to terminate the polyline.

You can also use combinations of the Line and Arc segments as shown below.
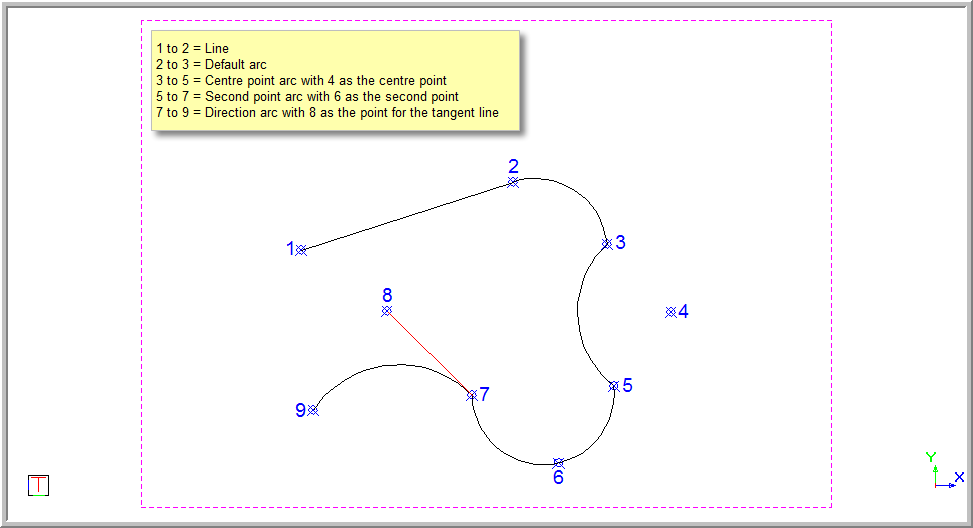
To terminate the drawing function, right-click on the screen and select Quit or press [Esc].

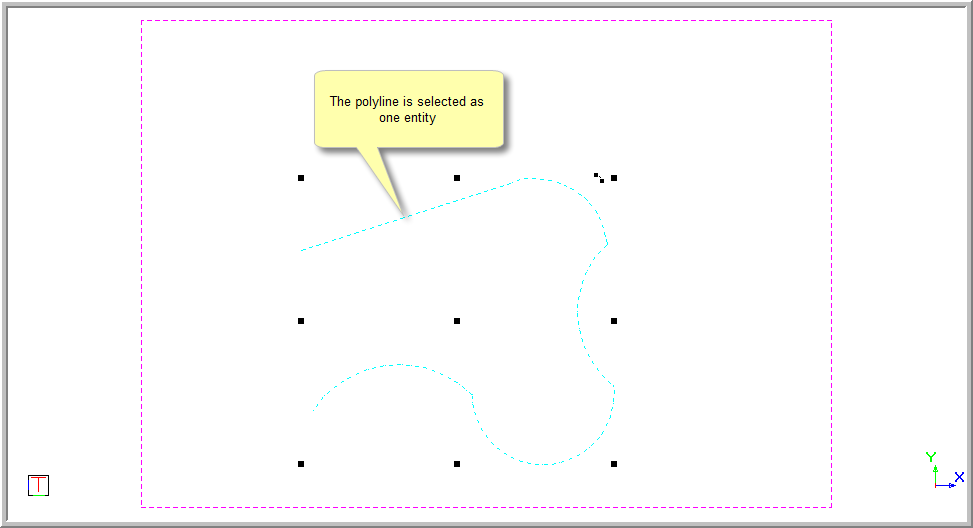
With a lightweight polyline, everything drawn is seen as one entity. If you select a part of the polyline, the whole entity is selected.
To edit an existing polyline:
